Table of Contents
How to Screenshot on Mac: The Complete 2025 Guide
How to Screenshot on Mac
Taking screenshots on a Mac is one of the most useful tricks every Mac user should master. Whether you’re saving a hilarious meme, recording a software bug, or grabbing an important email receipt — screenshots are your digital Swiss army knife. But despite how common this task is, many people don’t know just how versatile macOS is when it comes to capturing their screen.
This guide is here to help you learn every way to take, edit, find, and share screenshots like a pro in 2025.
Basic Screenshot Shortcuts
macOS includes built-in keyboard shortcuts that make capturing the screen super fast and intuitive.
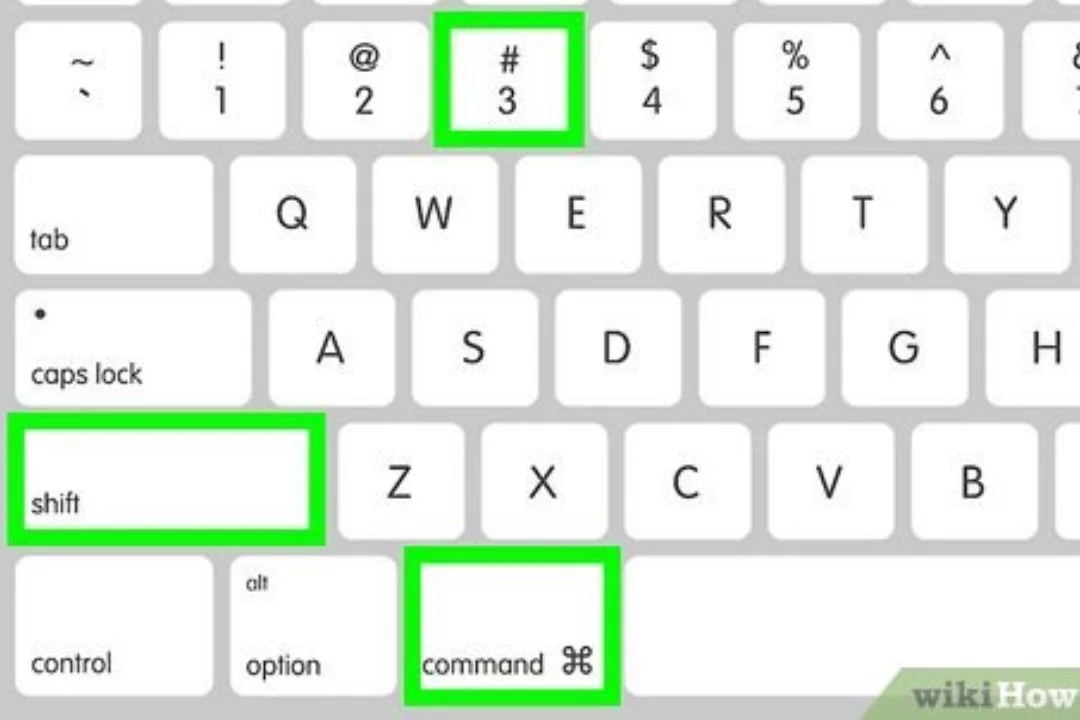
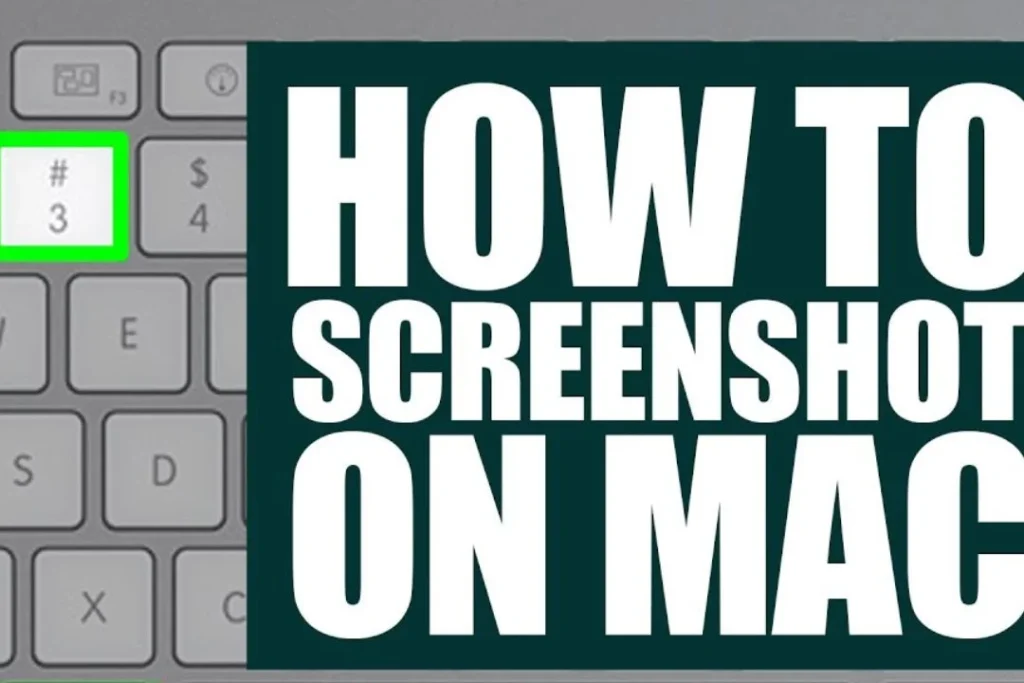
Screenshot the Entire Screen
Just press Command (⌘) + Shift + 3.
This captures your entire display — everything you see — and saves it as an image file on your desktop by default.
Capture a Specific Window
Want to snap just one window?
Use Command (⌘) + Shift + 4, then tap the spacebar. Your cursor will turn into a camera icon. Click on the window you want, and voilà — instant screenshot of that specific window with a nice shadow effect.
Select a Custom Portion of the Screen
Need precision? Hit Command (⌘) + Shift + 4, then click and drag your cursor to select the exact area you want. Let go of the mouse, and the screenshot is taken.
Advanced Screenshot Tools on Mac
If you want more control over how you capture your screen, macOS has a tool just for that.
Using the Screenshot App (Shift + Command + 5)
This shortcut opens a toolbar with several options:
- Capture the entire screen
- Capture a window
- Capture a selected portion
- Record the screen (yup, video too!)
- Options menu for setting timers and destinations
It’s like a control panel for your screenshots.
Video Recording Options
Want to record your screen in motion? From the same toolbar, you can choose to record either the entire screen or a selected portion. Perfect for tutorials or bug reports.
Timer and Settings
You can also set a timer (5 or 10 seconds) if you need to prepare your screen before it snaps the shot. Handy for menus or dropdowns!
Where to Find Your Screenshots
Default Save Location
By default, screenshots are saved to your desktop as PNG files with the name format like Screen Shot 2025-05-17 at 12.30.00 PM.
Changing the Save Location
You can change where your screenshots go:
- Press
Command + Shift + 5 - Click Options
- Choose a new location like Documents, Clipboard, or Preview
You can even set a custom folder to keep things tidy.
Editing Screenshots Instantly
After taking a screenshot, a thumbnail appears in the bottom-right of your screen. Click it, and you’ll enter Markup mode.
Using the Markup Tool
Markup lets you:
- Add shapes
- Highlight areas
- Insert text
- Use a magnifier
Cropping, Drawing, Adding Text
Draw arrows, underline important info, or crop out distractions — all without opening another app.
How to Screenshot on MacBook Pro with Touch Bar
Yep, even the Touch Bar can be screenshotted.
Screenshoting the Touch Bar itself
Press Command + Shift + 6 to capture the current state of your Touch Bar.
Customizing Touch Bar Screenshot Controls
You can also add screenshot buttons directly to your Touch Bar via System Settings > Keyboard > Customize Control Strip.
Using Preview App to Take Screenshots
The Preview app isn’t just for opening files — it can snap screens too.
How to use Preview for screen capture
Open Preview → Go to File > Take Screenshot, then choose from:
- From Selection
- From Window
- From Entire Screen
Saving and exporting options
Once the screenshot is taken, you can annotate it and export in formats like JPG, PDF, or TIFF.
Third-Party Screenshot Tools for Mac
macOS tools are great, but sometimes you want more flair. These third-party apps add advanced features.
Snagit
Snagit is a pro-level tool for marketers and teachers. It offers:
- Panoramic scrolling capture
- Detailed annotations
- Video editing features
CleanShot X
A favorite among developers and creators:
- Cloud storage
- Built-in GIF creator
- Distraction-free screenshots
Skitch (by Evernote)
Simple and free. Skitch is great for quick markups and sharing with Evernote integration.
Screenshot Tips for Productivity
Naming and Organizing Screenshots
Use a utility like Hazel to auto-sort your screenshots based on name or time. You can also rename them manually right after saving for better organization.
Automating screenshots with Shortcuts
Using Apple’s Shortcuts app, you can automate:
- Saving screenshots to specific folders
- Converting formats
- Uploading to cloud storage
How to Share Screenshots Quickly
Airdrop
Right-click your screenshot → Share > Airdrop → Instantly send it to your iPhone, iPad, or another Mac.
Mail and Messages
Drop screenshots into emails or Messages apps directly. No need to attach — just drag and drop.
iCloud and Notes Integration
Save screenshots to iCloud Drive or drop them into the Notes app for syncing across devices.
Troubleshooting Screenshot Issues \How to Screenshot on Mac
Shortcut not working?
Make sure your keyboard shortcuts are enabled in:
- System Settings > Keyboard > Shortcuts > Screenshots
Also, check for conflicting third-party apps.
Missing screenshots?
Search using Spotlight (Cmd + Space) and type Screen Shot. Also, make sure they’re not being saved to the clipboard instead of a file.
How to Change Screenshot Format (PNG to JPG, etc.)
macOS saves screenshots as PNGs by default. To change that:
- Open Terminal
- Type:
defaults write com.apple.screencapture type jpg - Press Enter
- Then restart the System UI Server:
killall SystemUIServer
You can also use formats like PDF, TIFF, GIF.
Accessibility Features for Screenshots
If you have motor or vision impairments, macOS allows:
- Voice Control to trigger screenshot commands
- Switch Control for alternate input
- Zoom for better visibility before snapping
How to Screenshot on Mac

How to Screenshot on Mac Conclusion
Screenshots are a modern-day superpower for Mac users. Whether you’re a student grabbing notes, a creative capturing design ideas, or just saving a funny tweet, knowing how to take and manage screenshots properly can save you time and stress. With macOS’s built-in tools and a few helpful third-party apps, you’re fully equipped to screenshot like a boss in 2025.
How to Screenshot on Mac FAQs
Q1: How do I take a screenshot on my Mac without the keyboard?
A: Use the Screenshot app by opening Launchpad > Other > Screenshot, or use Siri and say “Take a screenshot.”
Q2: Can I change the default screenshot format permanently?
A: Yes, via Terminal commands, you can set JPG, TIFF, PDF, etc., as your default format.
Q3: Why are my screenshots not saving to my desktop?
A: Check the “Options” in the Screenshot toolbar (Shift + Command + 5) to verify your save location.
Q4: Is there a way to disable the thumbnail preview?
A: Yes! In the screenshot toolbar (Shift + Command + 5), go to Options and uncheck Show Floating Thumbnail.
Q5: How do I capture a screenshot on multiple displays?
A: Using Command + Shift + 3 will capture each display separately and save individual screenshots for each screen.


Leave a Reply